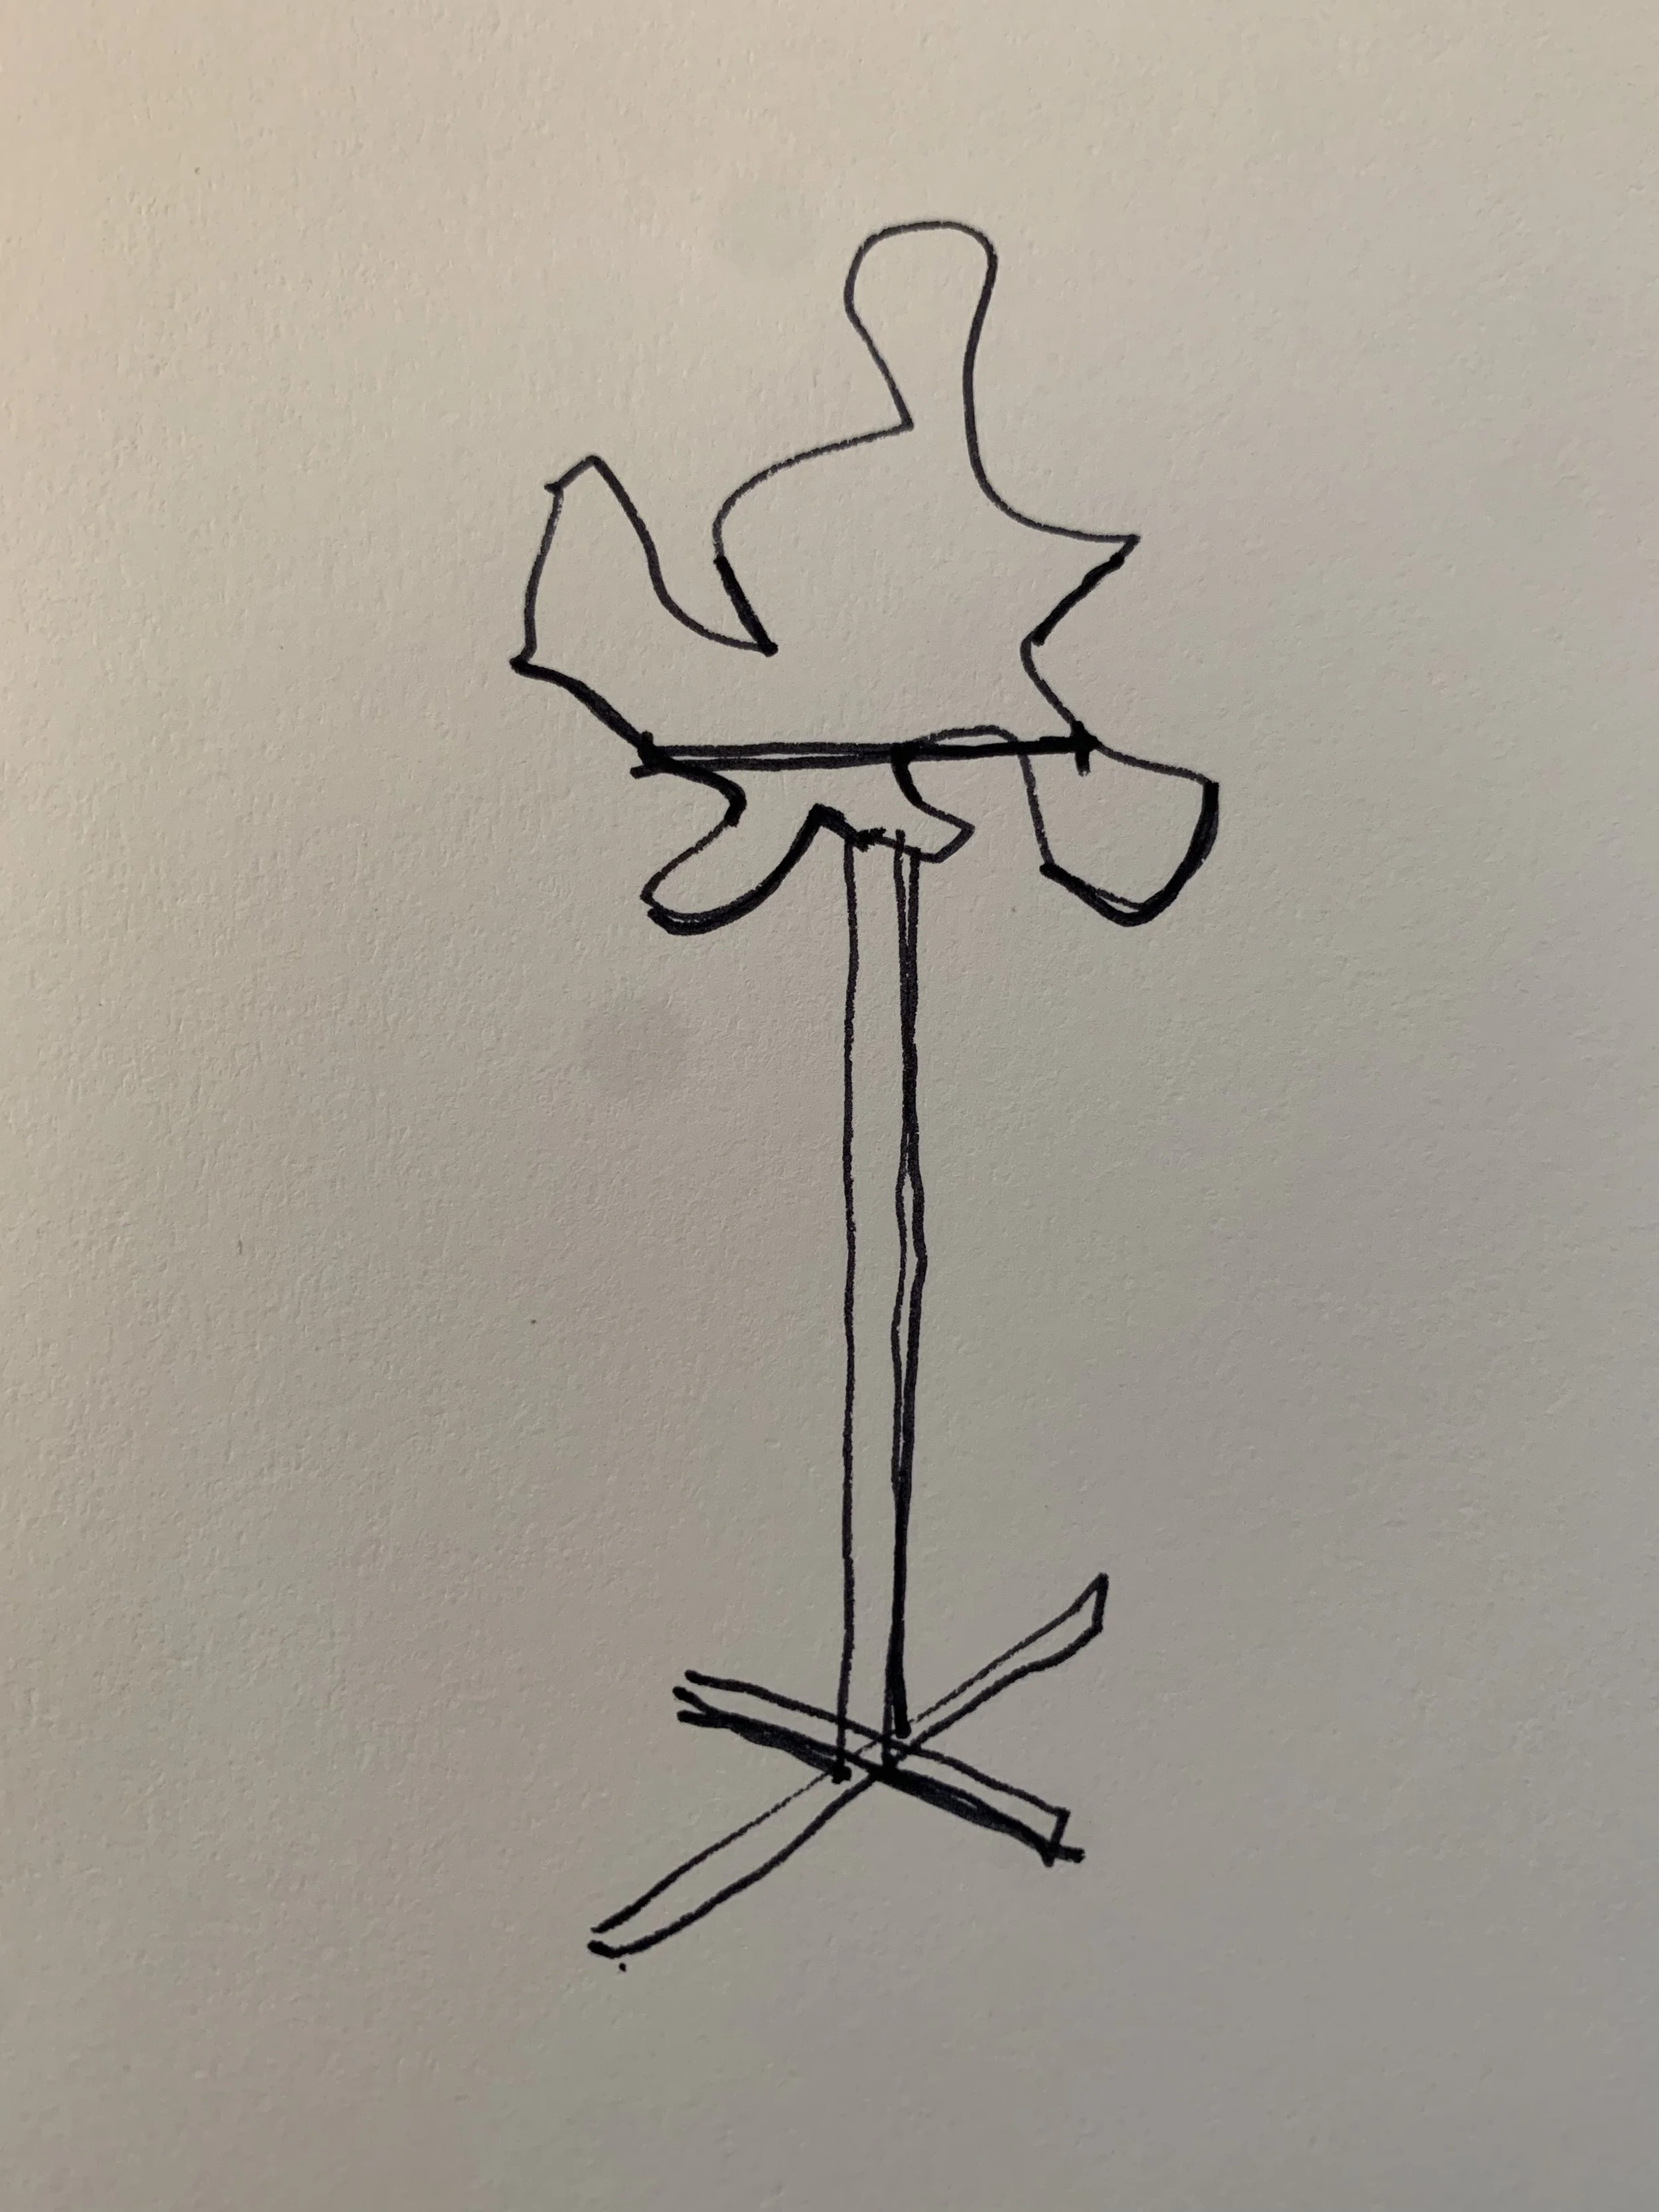
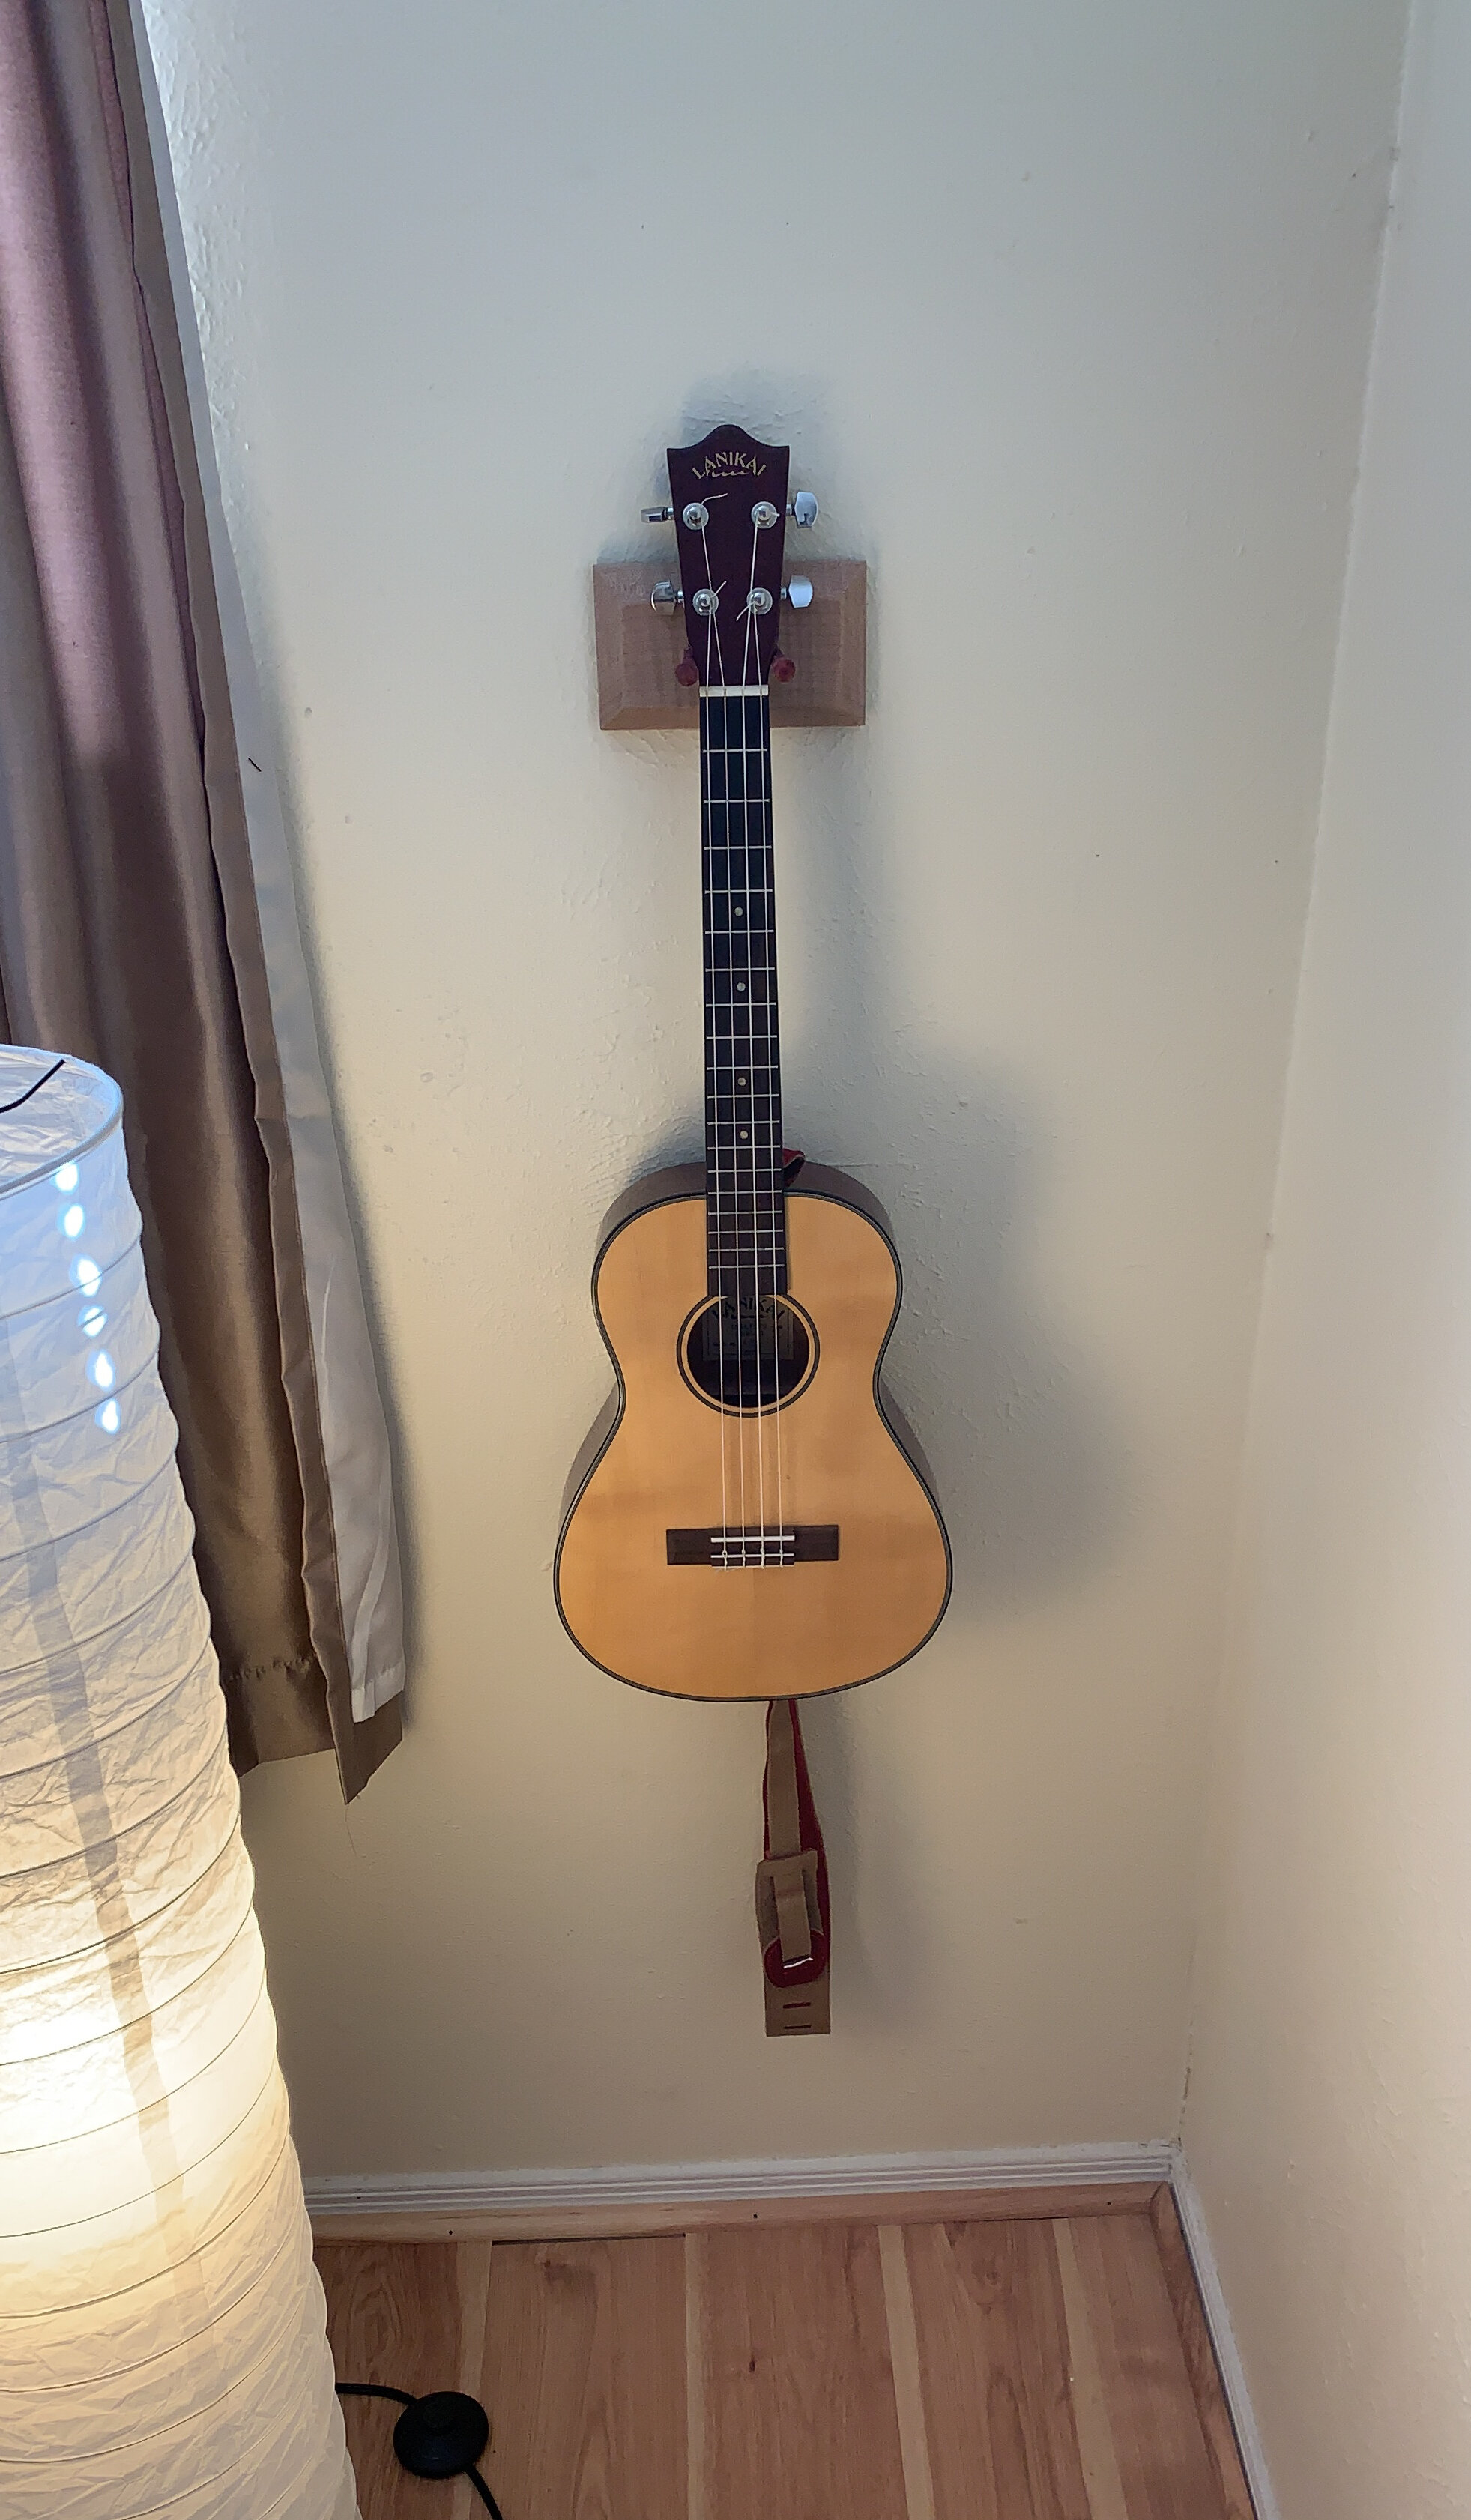
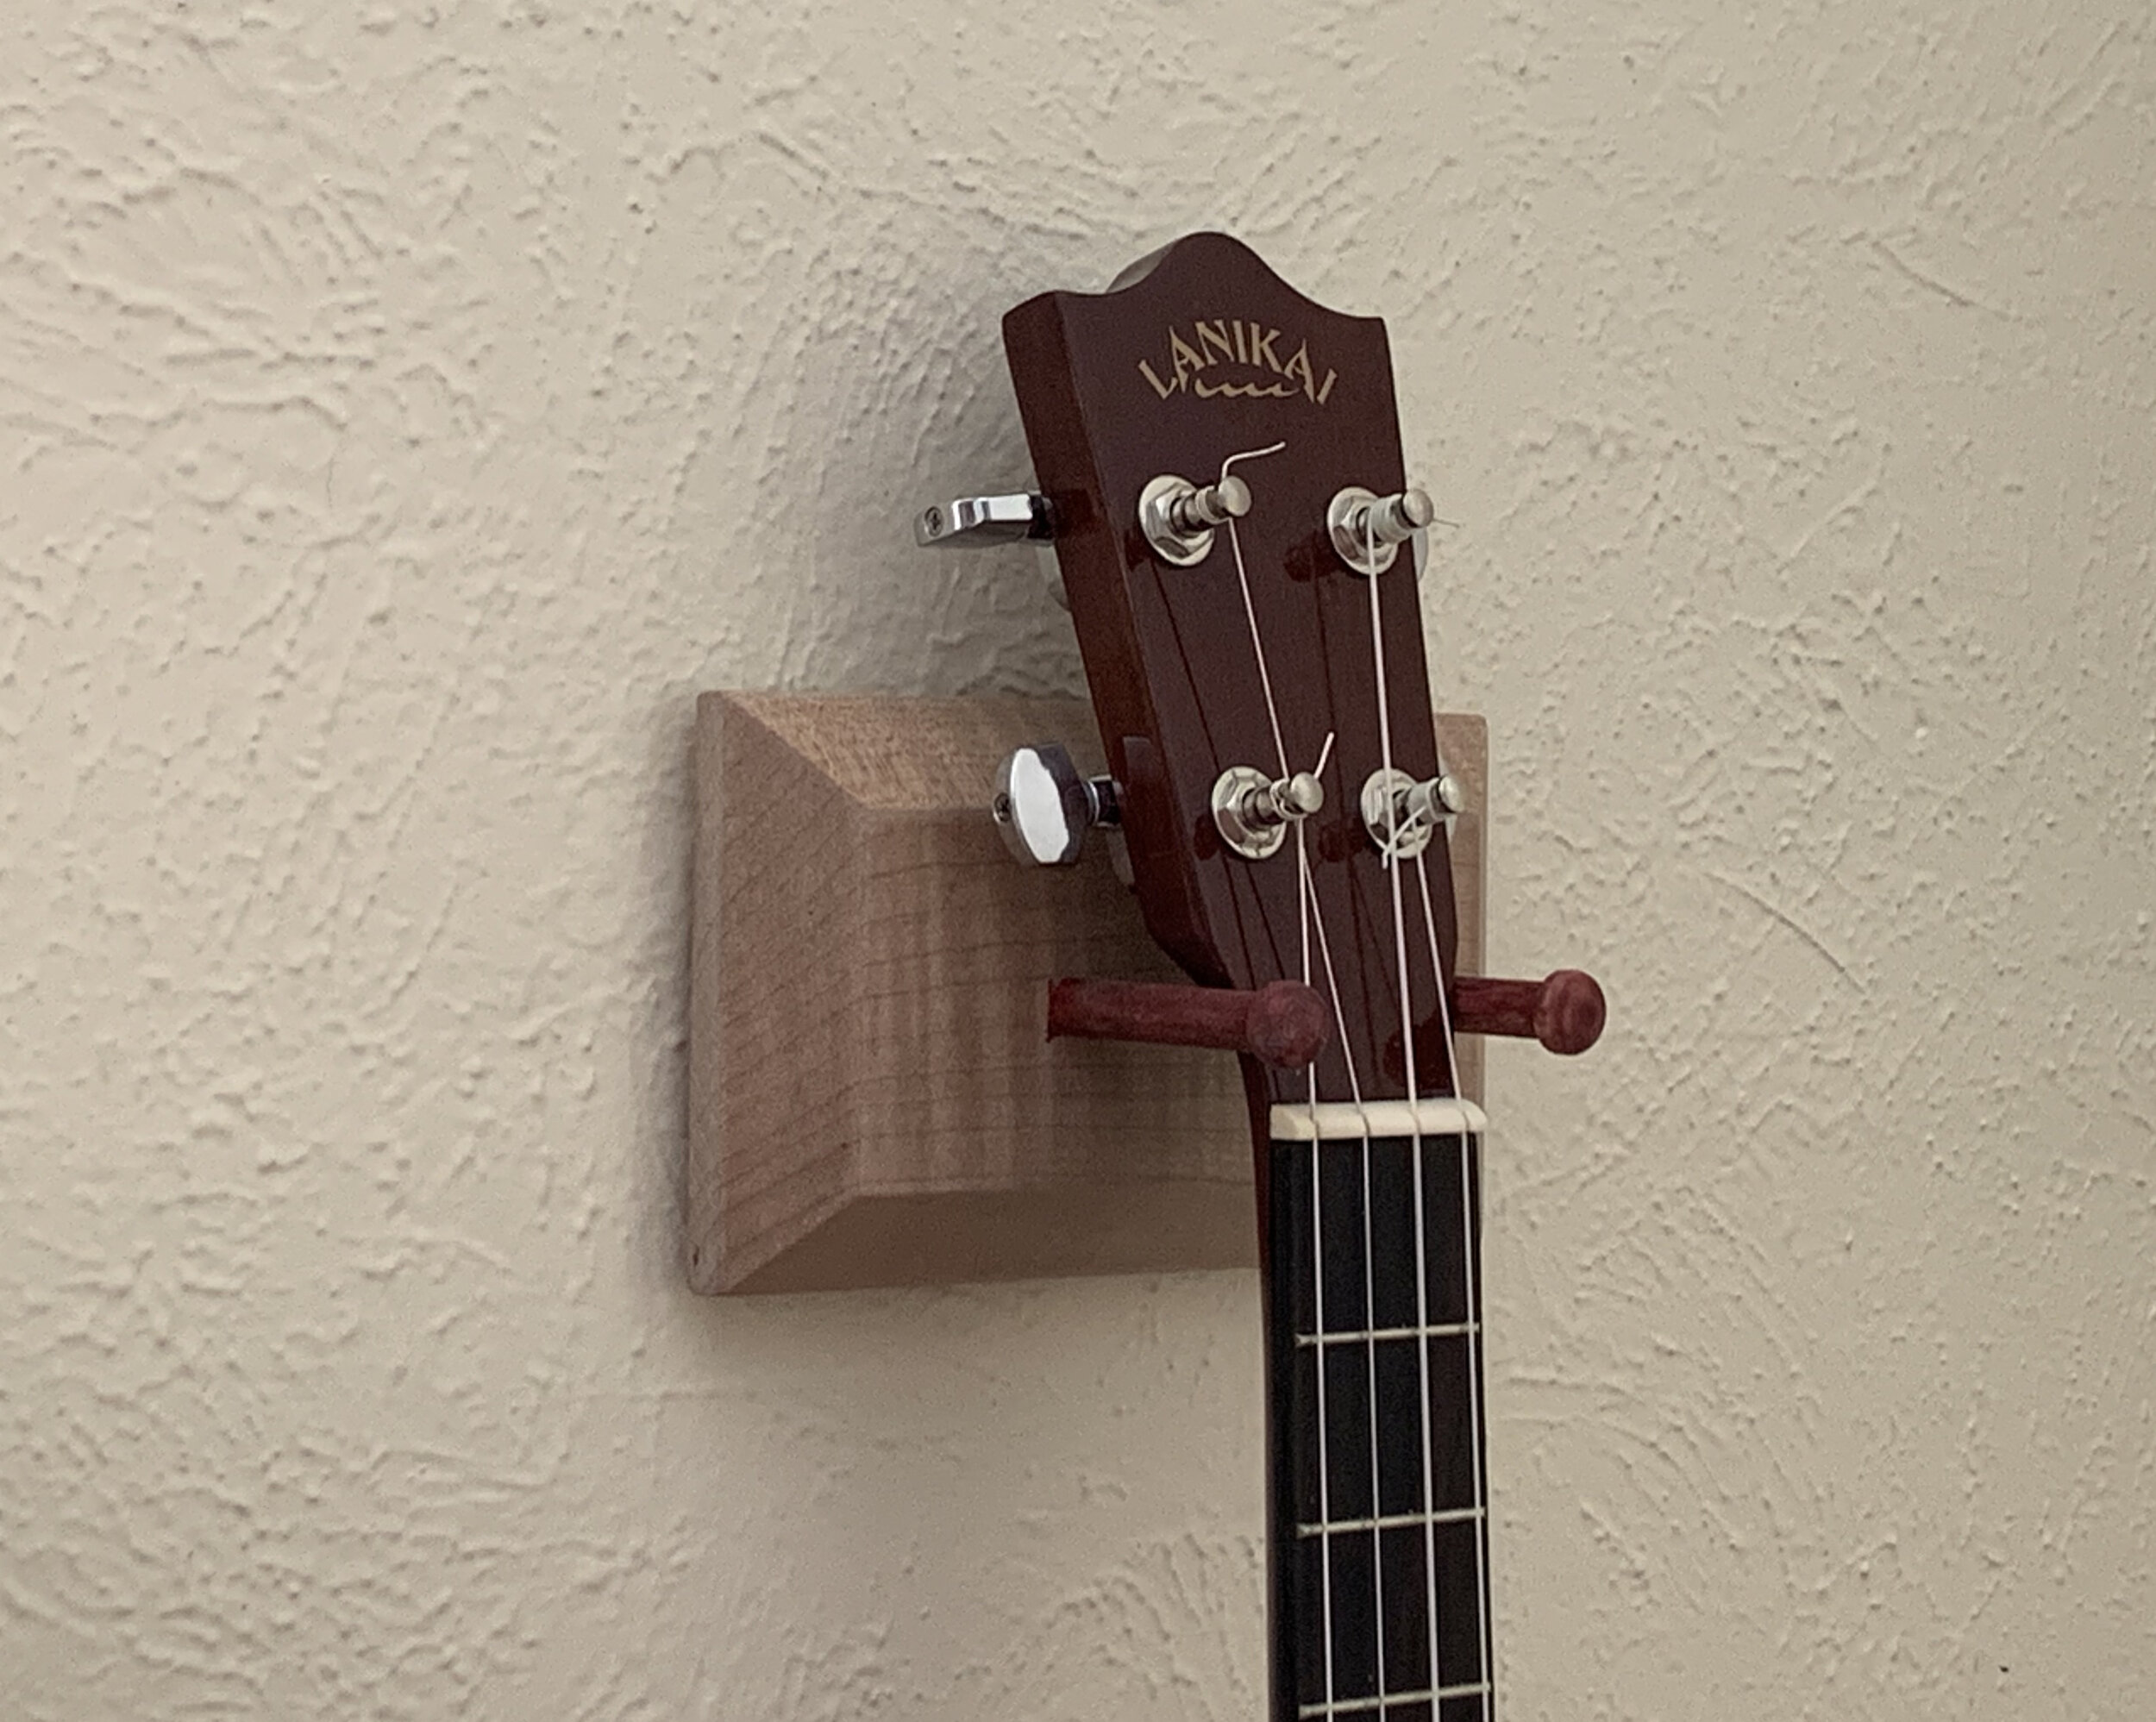
An Altar Table for a Friend

We built this modern altar table out of some beech wood, an incredibly dense and solid wood. At first I was worried about whether the corner dovetail joints would be strong enough but found that they are industrial strength and no further bracing is needed.

Experiments in Making Small Things

Better to design something small that you love

than something grand that you hate.

Even if you’re only designing in your head.

Mister Glasses

If you combine the precision and almost effortless repeatability of a laser cutter with geometry of a geodesic dome you get the possibilities of hybrid design. A digital assembly and gluing machine would make it perfect.

Dome Light - Birch Veneer

Useful Things Made from the Scrap Pile

I have a collection of left-over wood pieces that are just too good to throw away. Recently I used some of those to create a wall hanger for my baritone ukulele and a music stand. The wall bracket is straightforward, made of cherry and has stained red pegs.

The music stand found a use for a beautiful piece of Port Orford cedar that I had had for a long time without knowing what to do with it. Port Orford Cedar is a favorite wood of mine, it is light, looks great and gives off a lovely, spicy eucalyptus smell when you cut it. The design was inspired by music stands made by George Nakashima. His work reminds me of a presentation of haute cuisine, where the chef expresses the qualities each exquisite element of the ensemble and presents it beautifully as a harmonious composition. My music stand is nowhere near to that quality in execution or design but I am happy to have a useful music stand for free.

Small Pleasures

Pinch sticks are a useful tool for measuring inside a frame or a box and transferring those measurements to things that need to fit inside that box. I recently made a set of pinch sticks to measure the length of the sliding trays in my toolbox.

IMG_1234.JPG

The tool consists of a couple of fittings which you can buy for around $14. Both fittings slide on two wood sticks and one fitting tightens up with a large brass knob. The wooden sticks are not part of the kit. It doesn’t sound like a big deal, but I enjoyed making the sticks just the right fit to slide smoothly. It felt good to be a tool maker and not a tool consumer.

IMG_1220a.jpg

Off on a Boatbuilding Project Again

In 2009 and 2010 we built ANNIE, an Iain Oughtred Tammie Norrie yawl.  The experience of building her was probably the best thing I have done since getting seriously interested in  the hobby of woodworking.  The things I learned from the building were so important and the process was so satisfying that, although we had a beautiful boat to sail in, there was a desire to do it again.  It was difficult to justify this impractical idea. 

On a recent trip to Grand Teton National Park we visited Jackson Lake and I was impressed by families who came with lots of little sit-on canoes for all the family members and even little kids as young as 5 years old were experiencing of being out on the water independently.   I felt that a  little wooded canoe would be better for grandchildren than a plastic sit on kayak and I started researching canoes.  As I looked at lots of models, I realized that although my search included some practical considerations, including size, is it big enough for two people, the main thing that appealed 

IMG_8130.JPG
P1010815.jpg

Counting Sticks

Being a grandfather gives you lots of excuses to make things, whether the little one knows that they want them or not!  I have been wanting to make these counting sticks for a long time.  They are something I remember from my childhood and I feel they gave me a great visual understanding of counting, of the make up of numbers and how addition turns into multiplication.

Weapons of Math Instruction.

Weapons of Math Instruction.

1 + 1 = 2

1 + 1 + 1 + 1 = 4,  2 + 2 = 4,  1 + 3 =4

P1010868.JPG

Precision

For someone with just a little experience in woodworking, and that experience mainly in larger scale carpentry and boat-building projects, accuracy and precision are a big challenge when attempting a project requiring a higher level of craftsmanship.  There is nothing worse than the feelings of disappointment and frustration when you discover that your project is spoiled by big ugly mistakes that overshadow what you are trying to do. 

What can you do about it?  

IMG_7990.jpg

You can pay very good attention to avoid little inaccuracies from sneaking in and compounding into bigger problems.  I find paying good attention is relaxing, it is a zen-like state of attention and focus, excluding all other thoughts and worries.

IMG_7994.jpg

There's a temptation to buy more tools that will help with accuracy.   But, just like in golf, or music, better equipment is not going to make you a better golfer or musician.

I think that the answer is practice, experiment and patience.  Precision is relative, you have to decide what is good enough for your enjoyment of the project.

Tigerwood box

Tigerwood box

The Occasional Table. . . part 4

Good progress was made yesterday; I cut out all the pieces and dry fit them to check fit and to see if the folding mechanism worked.  It did, and after all all the difficulty with the curvy legs, those look fine now.  The only parts missing are the two stretchers at the lower part of the legs and the swivel piece that locks the top in place.  Everything will be taken apart again for sanding.

Walnut is a pleasant wood to work with and I'm looking forward to how it will look when the finish is put on.

IMG_7975 (1).JPG
blog 2.jpg

The Occasional Table. . . part 3

The edge of the tabletop in the original has a nice curve.  I decided to shape this edge by hand, using a spoke shave and then sanding, sanding, and sanding using a concave sanding block.  It could have been done quicker with a router but I have had bad experiences in the past trying to do this; when the rotating cutter comes around to just the wrong grain direction, it catches under the grain and there is a scary jerk and the table edge is missing a chunk.

blog.jpg

I experimented for a long time to try to find some rational setting out geometry for the arcs of the curvy legs.  I felt it was more likely that the original designer had put the compass points at a particular measurement than at some random point.  In the end I gave up and used a thin batten to make a 'fair line' that was close to the tracing off the original.  This was transferred to a pine board with carbon paper and then I cut this out and got it just right with a spokeshave and sandpaper before using this template to trace the four legs onto a walnut board.

The Occasional Table. . . part 2

The first cut is made.  I wanted to see how the two halves of the table top would look together.  It's not a real book match, I only have one plank, but it looks close enough.  I took two pieces next to each other in the plank and rotated one down next to the other.

IMG_7934.JPG

The next step for the top was to make the circular cuts with the router and an extended base.  I screwed the walnut pieces to a plywood base to keep them in place while cutting them.

IMG_7937.JPG
The top

The top

Still working on the curves of the legs, trying to find the pattern of how they were laid out.

The Occasional Table

The Occasional Table. . . it sounds like the title of a novel or movie, like ""The Accidental Anarchist".   This woodworking adventure began when I received a commission to build a small round folding table to match one the client already owned.  I was thrilled to take up this challenge because the table is delightful; with its subtly curved legs.  The project offers a lot of things to be interested in but there is also a definite risk that it might turn out as a poor imitation of the original.  So if this blog goes silent, you will know that things are not going well.

The original

The original

The client sent some good photos of the original, but only a few basic dimensions; 42.5cm diameter and 53cm high.   I tried to make a drawing based on the photos and dimensions, but there was enough uncertainty that I decided to make a mockup out of inexpensive pine before attempting the actual table.  The subtle curvature of the legs was difficult to get right; by looking at the photos I couldn't figure where the curve reverses.  

A mock up

A mock up

As you can see, it does not look right, kind of bandy-legged, and too curvey.  So I asked for more measurements from the original.  Once I received those, the drawing began to make more sense.

I wasn't sure what wood the original table is made from, it could be oak, but when I showed the photo to the guy in the woodstore, he thought it could be walnut.  The client confirmed that it didn't need to match. I was very excited to find a great piece of walnut in the woodstore.

IMG_7925.JPG

It's a very exciting part of woodworking to combine the hard dimensions of the concept design with the natural qualities inherent in a  piece of wood.  This piece of walnut has beautiful figure created by the grain and the cut that gives the appearance of little ripples even though the surface is flat.  

Mesquite Box

Making a pencil case box out of a piece of swirly mesquite wood as a gift for an artist friend.  I liked working with mesquite, the sawdust has a nice smell.

The question everyone asks is, "why does it have a hole in it?"  Well, anyone can have a pencil box without a hole in the lid, this is what makes it special!

Ready for assembly

Ready for assembly

Acknowledgements

Huge thanks to everyone who helped with this website at an early stage:  My family; Chetna and Ryan for their graphic design expertise, comments and insights, Pragya and Alex for their perceptive review comments and most of all to Prerna, my constant support.